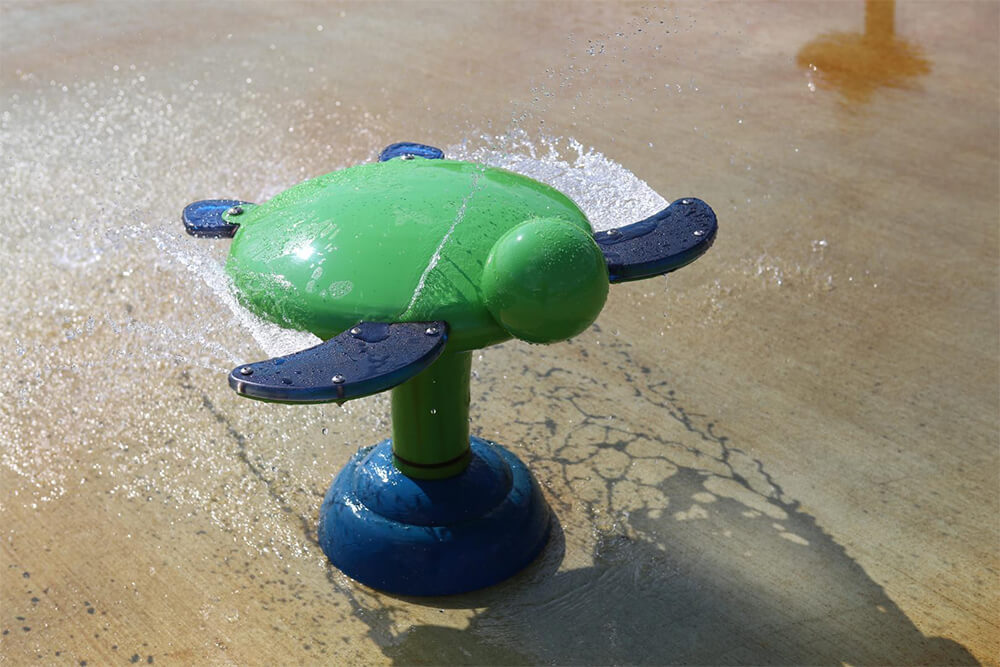
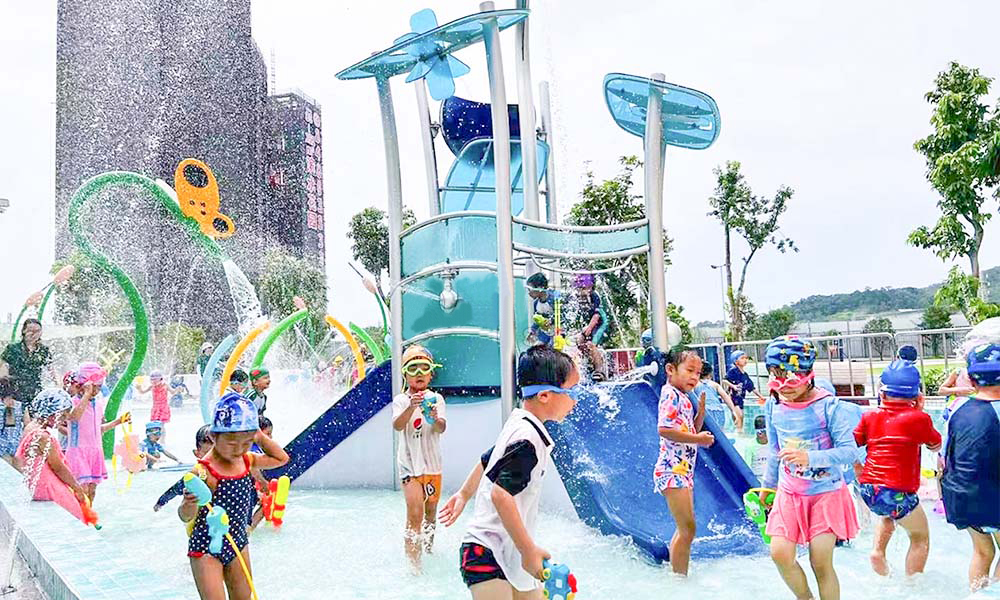
When it comes time to making a decision on the size and the number of splash pad water features, this will determine your splash pad cost. However, its OK to keep it simple or go big if you’d like! If your budget is in the lower range, there are many ways to create a fun, exciting splash pad specifically designed to meet your needs. Sprinkler features suitable for residential, backyard, school, municipal, public park, hotel spa, resort and commercial ect. Suitable for all ages water play.
Cenchi have our own in design studio and will work with you on every aspect of designing your custom splash park. We can create a 3-D rendering of the final project so you can see exactly what you will be getting before we start the construction, and provide the 2-D floor plan support water pad installation, even saving your splash pad installation cost.
1. Residential Splash Pads Cost
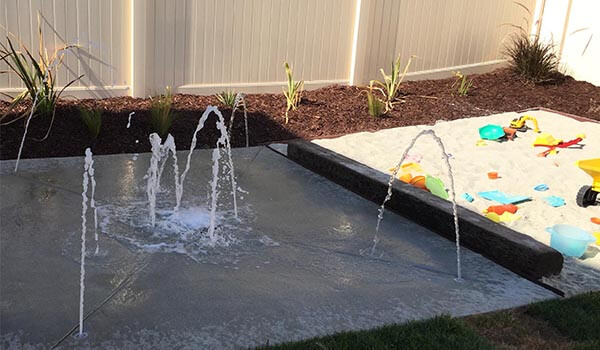
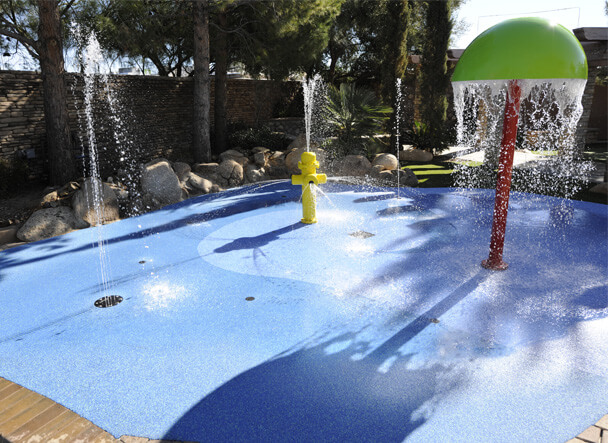
It’s important to determine the size and shape of your mini splash pad. Consider the available splash pad locations space in your backyard and the number of people who will be using the splash pad. You’ll also want to think about the age range of your users and any specific features you want to include, such as water slides or fountains. Once you have a clear idea of the size and shape of your splash pad, you can start looking for equipment that will fit your needs, even need to know the residential splash pad cost, and how to build a splash pad in your backyard.
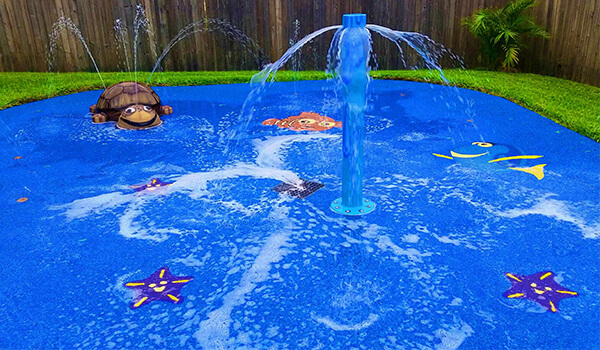
When it comes to residential splash pad equipment, choosing the right surface material is crucial. The surface material not only affects the overall look and feel of the splash pads residential but also impacts safety and maintenance. Some popular options include concrete, rubber, and foam. Concrete is durable and easy to clean, but can be slippery when wet. Rubber is softer and provides better traction, but may require more maintenance. Foam is a great option for younger children, as it provides a soft and safe surface, but may not be as durable as other materials. Consider your specific needs and preferences when choosing the surface material for your residential splash pads.
When choosing a residential splash pad kit, it’s important to consider the water features you want to include. Some popular options include spray jets, water cannons, and dumping buckets. Think about the age range of the users and their preferences when selecting water features. Younger children may enjoy gentle spray jets and smaller dumping buckets, while older children may prefer more powerful water cannons and larger dumping buckets. Additionally, consider the size of your splash pad and the amount of water pressure available to ensure that the water features you choose will work effectively.
Proper maintenance and upkeep are essential for keeping your residential splash pad equipment in good condition and ensuring its longevity. Regular cleaning and sanitizing are necessary to prevent the growth of bacteria and other harmful microorganisms. It’s also important to check for any signs of wear and tear, such as cracks or loose parts, and address them promptly to prevent accidents. Additionally, consider investing in a cover or shade structure to protect the equipment from the elements and prolong its lifespan.
The backyard splash pad cost for a residence is around $2,000-$10,000 depending on what’s best for you. There are some other options that can be cheaper but you’ll end up building splash pad kit and install it yourself. You can connect the water pipe directily.
Or there is an initial cost when filling the tank and depending on what water filtration system you choose, will affect the amount of water that is used.
The re-circulation method, water is held in a large underground holding tank, pumped out onto the splash pad, drains on the wet deck, passes back through several filtration & disinfection steps and back into the holding tank.
The flow through, or fresh water system, water is held in an underground tank, sprayed onto the splash pad and then drains out as waste water. Depending on your personal needs, both options are good.
How to Make a Splash Pad at Your Backyard
If you’re looking for a fun and easy way to beat the heat this summer, how to make a splash pad at home? With just a few materials and some basic DIY skills, you can create a refreshing outdoor activity that the whole family will love. Follow these step-by-step instructions to get started.
Choose the Right Location
The first step in building your own splash pad is to choose the right location. Look for a flat, level area in your yard that is free from any obstacles like trees or rocks. You’ll also want to make sure the area has good drainage to prevent any standing water. Once you’ve found the perfect spot, mark off the area with spray paint or flags to help you visualize the size and shape of your splash pad.
Determine the Size and Design of Your Splash Pad
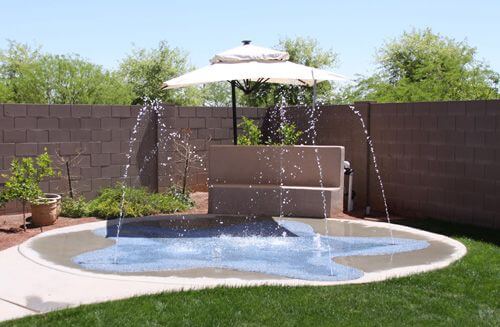
Before you start building your splash pad, it’s important to determine the size and shape that will work best for your space and needs. Consider factors like the number of people who will be using the splash pad, the age range of the users, and the available space in your yard. You can use spray paint or flags to mark off the area and experiment with different shapes and sizes until you find the perfect fit. Keep in mind that a larger splash pad will require more materials and maintenance, so choose a size that you can comfortably manage.
Gather Materials and Tools
Once you have determined the size and shape of your splash pad, it’s time to gather the necessary materials and tools. You will need PVC pipes, fittings, and valves, a water pump, a filter, spray nozzles, and a waterproof liner. You may also need sand, gravel, and cement for the base and support structure. Tools you will need include a saw, drill, measuring tape, and level. Make sure to purchase high-quality materials that are designed for outdoor use and can withstand water and UV exposure.
Install the Water Supply and Drainage System
Once you have gathered all the necessary materials and tools, it’s time to install the water supply and drainage system for your splash pad. First, dig a trench for the water supply line and lay the PVC pipes. Connect the pipes with fittings and valves, and install the water pump and filter. Next, install the spray nozzles in the desired locations on the splash pad. Finally, install the drainage system by digging a trench around the perimeter of the splash pad and lining it with gravel and sand. The water will drain into this trench and flow away from the splash pad.
Add the Splash Pad Features and Finishing Touches
Once the water supply and drainage system are installed, it’s time to add fun features to your splash pad! Consider adding water toys, such as sprinklers, water guns, and buckets, to enhance the play experience. You can also add decorative elements, such as colorful tiles or mosaics, how to install a splash pad look more visually appealing. Finally, test the water pressure and adjust the spray nozzles as needed to ensure that the water is flowing evenly across the entire splash pad. With these finishing touches, your DIY splash pad is ready for hours of fun in the sun!
2. Commercial Splash Pad Cost
The importance of interactive play at commercial splash pad.
Allowing down time to just play at any age is important. However, it’s particularly important for a child’s development. Interactive splash park provides so many great benefits to a growing child.
Commercial splash pad encourages bonding relationship with people and people. Play time with other children allows you to communicate with your child and create a special bond. Your child gets to build a relationship with you and/or other children during play time which allows kids both to grow together and as individuals.
The commercial splash pad cost ranges from $30,000- $150,000 for a commercial grade. Install Cenchi splash water features in hotel, resort, swimming pool can attract traveler, provide a water play experience outside of leisure, not just a simple swim and waterslide.
A small commercial splash pad is usually 10-20 foot concrete pad with a few spray nozzles. You can keep it simple at that or get fancier by adding size, above ground features and more nozzles. There is also the option to add fiber optic lighting to the water. Increasing the size of the pad gives you more space to add more features. With more features means more water & with more water means more SMILES! Your splash pad cost will be something you won’t regret!
3. Municipal Splash Pad Cost
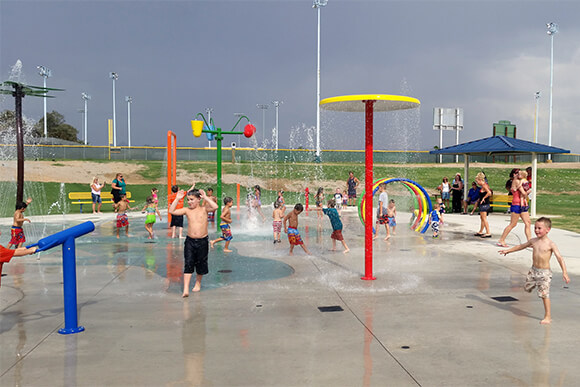
In addition to the above-mentioned cost budget, site size, and water flow, there is also the need to consider the cost of electricity for the municipal splash pad. This is not only a consideration for residential splash pads, especially the municipal splash pad cost. Since it is a public place, long-term All expenditures under use require careful calculation.
The average cost per month to run a splash pad system for about 6-8 hours a day ranges between $20-$40 per month, depending on electric rates in your area. With our custom control box, you can set a timer for how long you want the water to run in increments (15 or 30 min), and simply restarting it by waving your hand or foot, in front of the motion sensor to easily reactivate the water.
Municipal splash pad can provide children with educational functions, encouraging early childhood development through motor skills, thinking skills, and stimulating imagination. Plus, water attractions toys are fun and keep your kids kids going. In general, splashing and interactive play is crucial to a child’s development.
Conclusion
Cenchi promise to keep your splash pad cost down, while delivering a high-end product. If you’re concerned with water costs and economic savings, the re-circulation method is the right choice. However, if you are planing on having kids from 2-5 AND 6-12, we would also suggest doing both types. For more information as to why, contact us here email: jolin@cenchifun.com
Want to design a splash pad that’s both functional and visually appealing?

